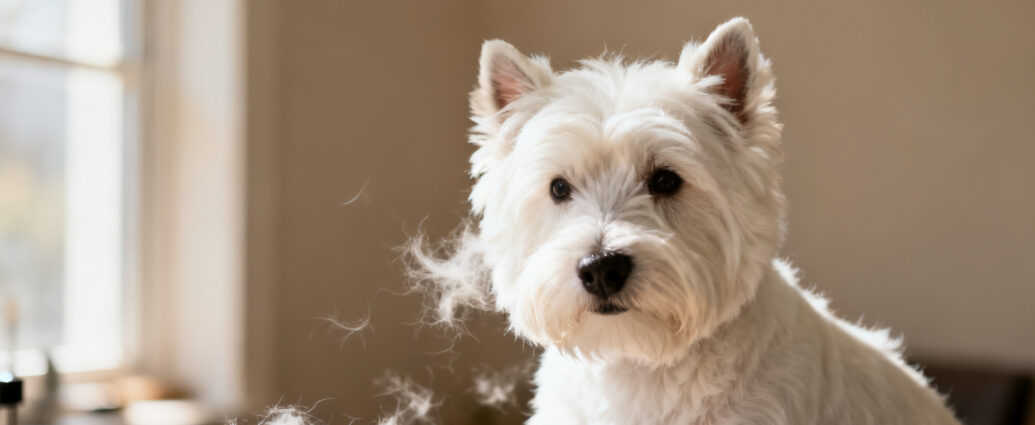
Test for Coat Readiness Before You Start
The pinch-and-pull test is like checking if a scab is ready to come off – you want it to lift easily! Pinch a tiny bit of the top coat between your thumb and pointer finger. Give it a soft tug. If the coat is ready, it should come out super easily. The fluffy undercoat underneath stays put. If you’re pulling hard and nothing’s happening? Wait a few more weeks. Your dog will thank you!
What to Look For:
• The white coat looks dull instead of bright and shiny
• Hair feels soft and fluffy at the ends, not stiff and rough
• You can see loose hairs coming away with barely any effort
Here’s something most folks around here don’t realize: your Westie’s coat doesn’t all get ready at the same time. The back (we call it the saddle) is ready first. Then the shoulders and head catch up. Those longer hairs on the legs and belly? They’re on their own schedule completely. Think of it like mowing your lawn in sections – you do the parts that need it, not everything at once.
I’ve watched neighbors try to strip their whole Westie in one afternoon. Four hours later, they’ve got one grumpy terrier and sore fingers! Not worth it.
Why does this matter for the hand stripping vs clipping decision? Here’s the thing: clipping looks fine at first. Your dog looks neat and tidy. But after you clip a few times, you wreck that special wiry coat forever. It turns soft and fluffy, like a cotton ball. Then every stick, burr, and raindrop sticks to your poor pup. That tough, weatherproof Westie coat? Gone.
Master the Grip (Your Fingers Will Thank You)
Put the hair between your thumb and pointer finger, pressing it against the stripping knife – not cutting with the knife’s edge. The tool just helps you grip better. It’s not scissors! Get this mixed up and you’ll either cut the coat (bad) or your hands will hurt after ten minutes (also bad).
Picture yourself pulling a weed from the garden. You don’t twist your wrist all around. You keep it straight and pull in the direction the weed grows. Same idea here! Pull the way the hair grows, and use your whole arm and shoulder to do the work. Your fingers just hold on – they’re not doing the heavy lifting.
Smart Session Tips:
• Work on tiny areas, about the size of a postage stamp
• Take breaks every few minutes
• Stop when your fingers get tired
Imagine a professional groomer working on a show dog. They don’t do it all in one day! They might spend two hours, then come back another day for two more hours, then finish it up in a third session. That’s your speed. Trying to do a whole side at once? That’s how you get achy hands and your dog ends up looking patchy.
My hands used to slip like crazy when I first started. Sweaty fingers make everything harder! The hair slides right through, you lose your grip, and suddenly you’re working twice as hard and getting nowhere. Get some finger cots (they’re like tiny rubber sleeves for your fingertips) or groomer’s grip powder. Total game-changer.
Keep Sessions Short and Strategic
Twenty to thirty minutes max for a wiggly Westie. Even if you’ve only finished one shoulder – stop! Your dog only has so much patience, and honestly, so do you. Better to do five short sessions than one terrible long one where everyone ends up frustrated.
Best Time to Groom:
• Right after a walk or play time
• When your dog is tired but calm
• NOT first thing in the morning when they’re full of energy
Here’s what I’ve learned: a Westie who just spent forty minutes sniffing around the neighborhood is way more likely to sit still than one who’s been sleeping all morning and is ready to zoom around. Timing is everything!
Use a grooming table or set up a non-slip surface that’s about waist-high for you. Don’t bend over your dog on the floor! Your back will hate you, and your Westie will figure out real quick that jumping away is super easy. The right height makes this job ten times easier.
Take pictures with your phone! Seriously. Or put little pieces of painter’s tape to mark where you stopped. It’s surprisingly easy to forget where you left off, especially when you’re doing this over several days. I learned this the hard way when I accidentally stripped the same section twice and left another part completely untouched.
Manage the Wiggle Factor
Special treats that last a long time are your best friend here. Picture this: you’ve got a lick mat stuck to your grooming table with frozen peanut butter on it. Your Westie is busy licking away while you work on the other side. Both your hands are free, and your dog is happy!
A grooming loop (it’s like a gentle leash that attaches to the table – NOT a choke collar) keeps your Westie in one spot without you needing three hands. It’s not mean or scary. It just prevents that constant game of “stand still… no, come back here… stop spinning around!”
Work in This Order:
1. Start with the back and sides (easy areas)
2. Move to shoulders and neck
3. Save the head, ears, and belly for last
Why this order? Because those first areas don’t bother your dog much. They get used to what you’re doing. If you start with the face or belly – the ticklish, sensitive spots – you’ll create a Westie who runs and hides the second they see that stripping knife.
Some Westies just won’t put up with this at home, and that’s okay! Knowing when to let a professional groomer handle it – even just the tricky parts – is smart, not giving up. Some dogs do better in a grooming salon where it’s neutral territory and they know it’s “business time.”
Don’t Neglect Post-Strip Skin Care
Think of freshly stripped skin like a mild sunburn. It’s pink, a little sensitive, and needs some TLC for a day or two. You just pulled out all that dead coat, and the skin underneath is adjusting.
A gentle spray with oatmeal or aloe (make sure it has NO alcohol!) feels soothing and doesn’t mess up the new coat growing in. Just a light mist after each session keeps your dog comfortable. Skip anything with perfume or alcohol – that stuff stings!
Important: Don’t Give a Bath Right Away!
Wait two to three days before bathing your Westie after stripping. The little holes where the hair came out need time to close up. Bath too soon? You might irritate the skin or even cause an infection in some dogs.
Keep an eye out for any tiny cuts or red patches. Most Westies have tough skin, but it’s better to be safe. A little red spot you catch early is no big deal. Ignore it for three days and you might end up at the vet. Just dab on some basic antiseptic if you see anything that looks irritated.
Maintain Between Full Strips
Here’s a pro secret: the “rolling coat” technique. Instead of waiting for the whole coat to be ready, strip small sections every week or two. This keeps everything looking consistent, and you never have a huge job ahead of you. Just quick tidy-ups!
Maintenance Tools:
• Carding tools (remove fluffy undercoat)
• Stripping knife (for small touch-ups)
• Your fingers (still the best tool!)
Carding tools are great because they pull out dead undercoat fluff without messing up the wiry topcoat you worked hard to keep. A few minutes with a carding tool between stripping sessions stops the undercoat from getting matted and makes your next strip way cleaner.
Why does hand stripping vs clipping matter long-term? A hand-stripped coat that’s taken care of properly stays tough and weatherproof – like it’s supposed to be! Rain rolls right off. Dirt doesn’t stick. When you pet your Westie, the coat feels wiry and stiff. That’s correct! Clipped coats get soft and fluffy after just two or three haircuts. They lose everything that makes a Westie coat special and useful.
Know When to Call in Backup
If this is your first time stripping, think about having a professional groomer do the first full strip. Then you just maintain what they started. Starting with a coat that’s already correct is SO much easier than trying to figure out what “done” even looks like while you’re still learning. You’ll have something to copy!
| What You Can Do at Home | What’s Tricky (Maybe Get Help) |
|---|---|
| Back and sides | Ears and face |
| Shoulders and neck | Sanitary areas |
| Legs (with practice) | First full strip ever |
Imagine a groomer who charges forty to sixty dollars just for a quick tidy-up between your home sessions. That’s actually pretty reasonable! Your Westie stays looking sharp, and you don’t have to master every single fiddly detail. It’s a good middle ground.
If your Westie gets really stressed – not just a little annoyed, but truly upset and scared – stop and rethink this. Some dogs just prefer going to the groomer instead of doing this at home. That’s totally fine! Forcing it doesn’t give you a better coat. It gives you a dog who hides under the bed when you pull out the stripping knife. Not worth it!